• Little Mountain Phone & Computer Repair
  • Location:

    1922 Mentor Ave, Painesville Twp.
  • March 16, 2026
  • No Comments

How to Fix Your iPad Screen Without Losing Your Mind

How to Fix Your iPad Screen Without Losing Your Mind

Why Your Original iPad Deserves a Second Chance

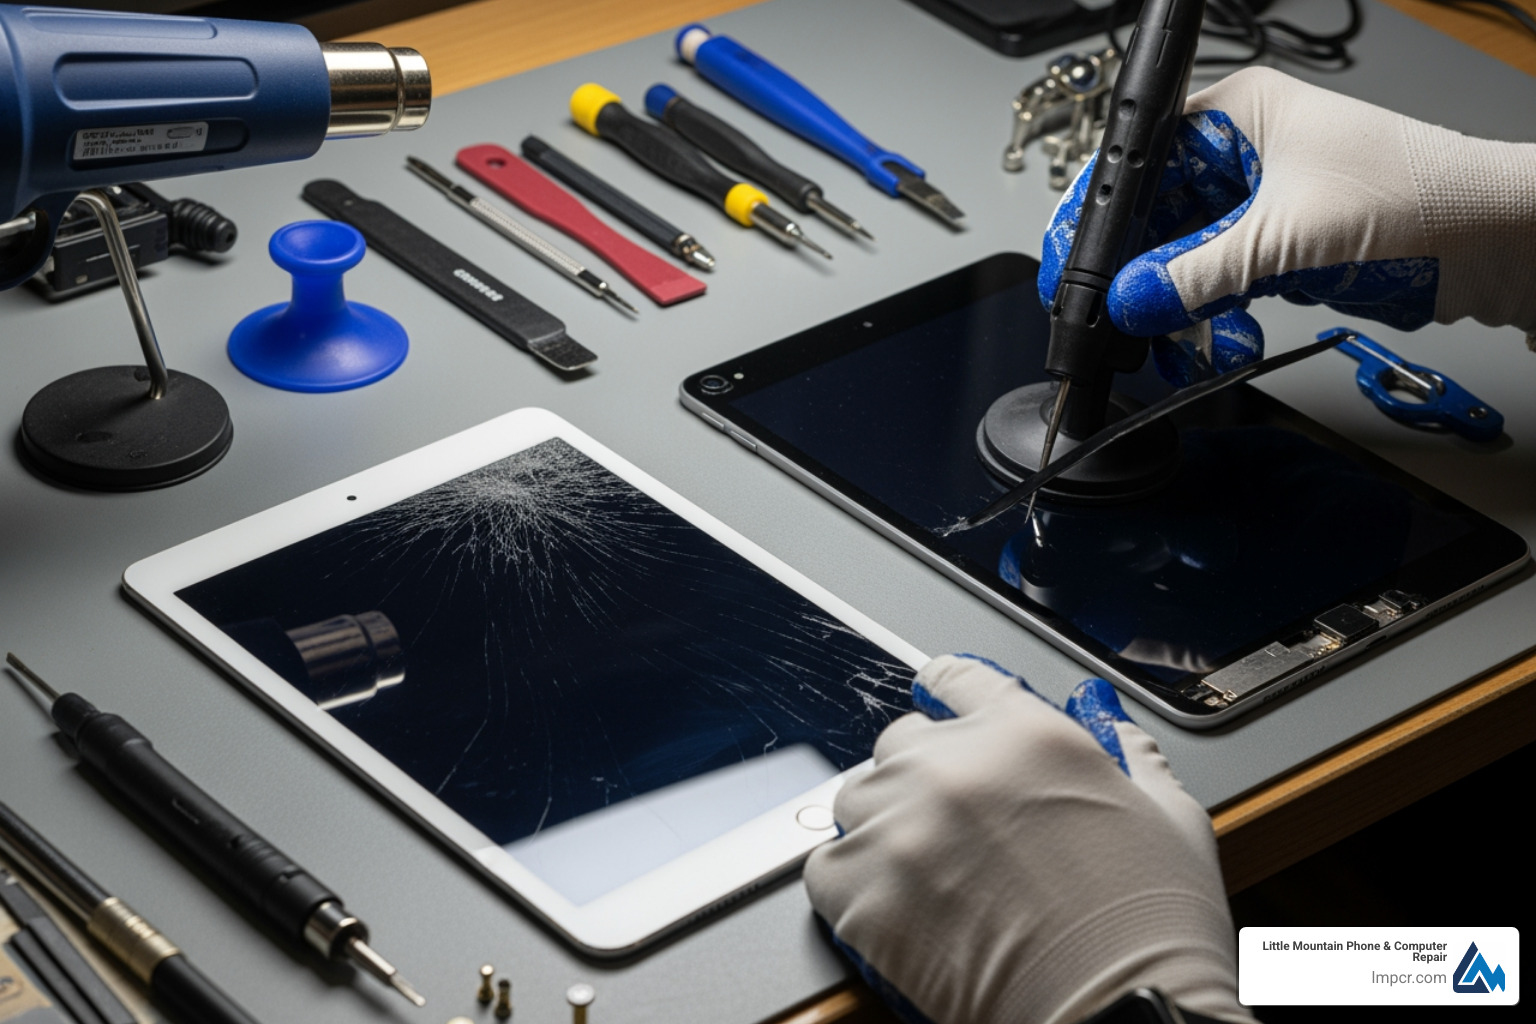
Original iPad screen replacement is a challenging but achievable repair that can bring your first-generation tablet back to life. Here’s what you need to know:

Quick Answer:

  • Difficulty Level: Moderate to Advanced (strong adhesive, 14 metal clips, delicate cables)
  • Time Required: 1.5-3 hours for first-time repair
  • Key Challenge: Separating the display assembly without damaging the digitizer cables, ambient light sensor, or Wi-Fi antenna
  • Essential Tools: iOpener heat pack, metal spudger, plastic opening picks, T5 Torx screwdriver, suction handle
  • Major Steps: Heat edges → release clips → disconnect three cables → transfer components → reassemble
  • Cost Consideration: DIY parts $30-80 vs. professional repair $150-250

The original iPad launched in 2010 revolutionized tablets, but over 213,000 people have viewed repair guides for its screen replacement—proof that these devices still matter to their owners. The first-generation iPad has a unique design where the glass digitizer and LCD are not fused together, unlike newer models. This makes repairs slightly easier in some ways but introduces its own challenges with 14 metal clips securing the display assembly.

The biggest risk? Damaging sensitive components during disassembly. The digitizer cable sits just 2 inches from the bottom on the left edge, and the Wi-Fi antenna lurks on the right side where one careless move can sever it permanently.

I’m Jay Baruffa, President of Tech Dynamix and Little Mountain Phone & Computer Repair, and I’ve guided hundreds of customers through device repairs over the years, including many challenging Original iPad screen replacement projects. Whether you’re deciding between DIY repair or professional service, understanding the process helps you make the right choice for your situation.

Original iPad screen replacement workflow infographic showing steps from diagnosis through heating adhesive, releasing clips, disconnecting cables, transferring components, and final reassembly with safety warnings - Original iPad screen replacement infographic

Essential Tools and Safety Measures

Before we dive into the guts of your device, we need to make sure you have the right gear. Attempting an Original iPad screen replacement with a kitchen knife and a standard screwdriver is a recipe for a broken iPad and a trip to the emergency room. We’ve seen many “DIY disasters” come through our doors in Painesville and Mentor, and most could have been avoided with the right tools.

Your Repair Toolkit

  • iOpener: This is a microwaveable heat pack designed to apply heat directly to the adhesive without the risk of a heat gun melting your plastic internals.
  • T5 Torx Screwdriver: Unlike newer iPads that use Phillips screws, the original iPad relies on T5 Torx screws to secure the internal LCD brackets.
  • Metal Spudger: Essential for prying the heavy-duty metal clips that hold the front panel to the aluminum frame.
  • Plastic Opening Picks: These are used to keep the adhesive from re-sealing once you’ve pried a section open.
  • Suction Handle: Helps you lift the glass safely once the clips are released.
  • Safety Glasses: When you’re prying cracked glass, tiny shards will fly. Protect your eyes.
  • Packing Tape: If your screen is shattered, cover the entire face with clear packing tape. This keeps the glass from falling apart in your hands and gives the suction cup a smooth surface to grab onto.

We always recommend reviewing the Apple Repair Terms and Conditions if you are considering official service, but for a legacy device like the 1st Gen iPad, DIY is often the only cost-effective route. If you find the tool list daunting, you can always check out our professional iPad Repair services for a guaranteed fix.

Step-by-Step Guide to Original iPad Screen Replacement

The original iPad is a beast of a machine. It’s built like a tank, which means the adhesive and clips holding it together are incredibly strong.

Safely Separating the Front Panel

heating the edges of an iPad with an iOpener - Original iPad screen replacement

  1. Adhesive Softening: Start by heating your iOpener in the microwave for 30 seconds. Lay it along the top edge of the iPad. You need to get that adhesive soft enough to move.
  2. Releasing the 14 Metal Clips: This is where things get tricky. The original iPad doesn’t just use glue; it uses 14 metal clips (located on the top, bottom, and left sides) and plastic tabs on the right side. Use your metal spudger to carefully pry the edge of the glass away from the aluminum frame. You will hear a “snap” as the clips release.
  3. The “Sweet Spot”: According to the iPad Wi-Fi LCD Replacement guide, you should start at the top edge and work your way down.
  4. Avoiding the Wi-Fi Antenna: Be extremely careful on the bottom right side. The Wi-Fi antenna is located about 3 inches from the right edge. If you slide your pick too deep here, you’ll lose your internet connection forever.
  5. Opening Pick Depth: Never insert your pick more than 0.5 inches (about 10-13mm) into the device. Any deeper and you risk hitting the LCD or the delicate ribbon cables.

Disconnecting the Internals

Once the panel is lifted, do not pull it away! There are three major cables still attached:

  • Digitizer Cables: These are located on the left side. You must flip up the tiny retaining flaps on the ZIF (Zero Insertion Force) connectors before pulling the cables out.
  • Ambient Light Sensor: This sensor is often glued to the front panel. You’ll need to gently pry it off to transfer it to your new screen.
  • Display Data Cable: This connects the LCD to the logic board.

For more detailed breakdowns of these internal components, our Tablets/iPad Repair page offers a wealth of technical insight.

Testing Your Original iPad Screen Replacement

Before you snap those 14 clips back into place and seal the deal, you must test the functionality. We call this the “dry fit” phase.

  1. Cable Alignment: Ensure the digitizer and LCD cables are seated perfectly in their connectors. If they are even slightly crooked, you might experience “ghost touching” or a black screen.
  2. Power On Test: Gently lay the screen down (don’t clip it yet) and turn the iPad on.
  3. Touch Responsiveness: Open a notes app and draw across the entire screen. Check for dead spots.
  4. Multi-touch Calibration: Test pinch-to-zoom gestures. If the iPadOS doesn’t respond correctly, you may have a non-genuine or defective part.

If you run into issues during the test, you can Get started with display service through official channels, though they rarely support the 1st Gen model anymore.

Sourcing Parts for Your Original iPad Screen Replacement

Finding a high-quality screen for a device from 2010 can be a bit of a treasure hunt.

  • Genuine vs. Aftermarket: Genuine Apple parts are rare for this model. Most “Original” parts on the market are actually “Refurbished OEM” (original LCD with new glass).
  • The Risk of Aftermarket: Cheap aftermarket screens often have poor color accuracy (appearing too yellow or blue) and lower touch sensitivity.
  • Reputable Vendors: We often look to suppliers like MobileSentrix for high-quality components.
  • Donor iPads: Sometimes the best way to get a genuine screen is to buy another “broken” iPad that has a functional screen but a dead logic board.

Any repair you perform yourself will not be covered under the Apple Limited Warranty. For those in Lake County who want the highest quality parts without the hassle, our iPad Services ensure you get the best available components.

Not all original iPads are created equal. The Wi-Fi-only model and the GSM/LTE (3G) models have different internal layouts.

Wi-Fi vs. GSM/LTE

The GSM model has an extra antenna assembly at the top (the plastic “black bar” area). This changes how you apply heat and where you can safely pry. If you are working on a slightly newer version, like the iPad 2, the iPad 2 GSM LCD Replacement guide highlights how the antenna locations shifted even further.

Common Pitfalls to Avoid

  1. Clip Breakage: It is very common to break a few of the 14 metal clips. If you break one or two, don’t panic—the remaining clips and adhesive will usually hold the screen securely. However, if you break the plastic tabs on the right side, the screen will never sit flush.
  2. Ghost Touching: This happens when the digitizer touches the LCD or the frame. To prevent this, ensure the foam padding around the LCD is intact. If it’s missing, you can use small strips of Kapton tape.
  3. Adhesive Residue: Never apply new adhesive over old, crusty glue. Use 90% Isopropyl alcohol and a microfiber cloth to clean the frame until it’s spotless. A clean surface is the only way to ensure the screen doesn’t lift a week later.

Frequently Asked Questions about iPad Repairs

Is it worth repairing an original 1st Gen iPad?

From a purely financial standpoint, probably not—the repair parts can cost as much as the device’s market value. However, for sentimental value, data recovery, or use as a dedicated e-reader or photo frame, an Original iPad screen replacement is a wonderful way to keep electronics out of the landfill.

What should I do if I break the metal clips during disassembly?

You can actually buy replacement clips online! If you don’t want to wait for shipping, ensure the clips you didn’t break are bent back into their original shape so they provide a tight grip.

How do I handle a badly shattered screen safely?

Tape is your best friend. Use overlapping strips of clear packing tape across the entire screen. This prevents glass splinters from falling into the delicate internal components (and your fingers). Always wear safety glasses!

Conclusion

Repairing an original iPad is a journey back to the beginning of the tablet era. While the process of Original iPad screen replacement is more mechanical and “fiddly” than modern iPads due to those 14 metal clips, it is a rewarding project for any tech enthusiast.

However, we know that your time is valuable. If the thought of prying metal clips and navigating Wi-Fi antennas makes your head spin, let us handle it. At Little Mountain Phone & Computer Repair, we’ve spent over 20 years perfecting the art of device repair. We serve neighbors across Painesville, Mentor, Willoughby, and the rest of Lake County with an average repair time of just 30 minutes.

Whether you need a simple screen swap or complex professional diagnostics, our Expert Tablet Services are here to ensure your device returns to you in “like-new” condition. Don’t lose your mind over a cracked screen—give us a call or stop by one of our locations today!