-
February 12, 2026
-
No Comments
Fix Your Samsung A13 Screen Like a Pro
A13 Screen Replacement: Quick, Expert Fix 2026
Why Your Samsung Galaxy A13 Screen Matters
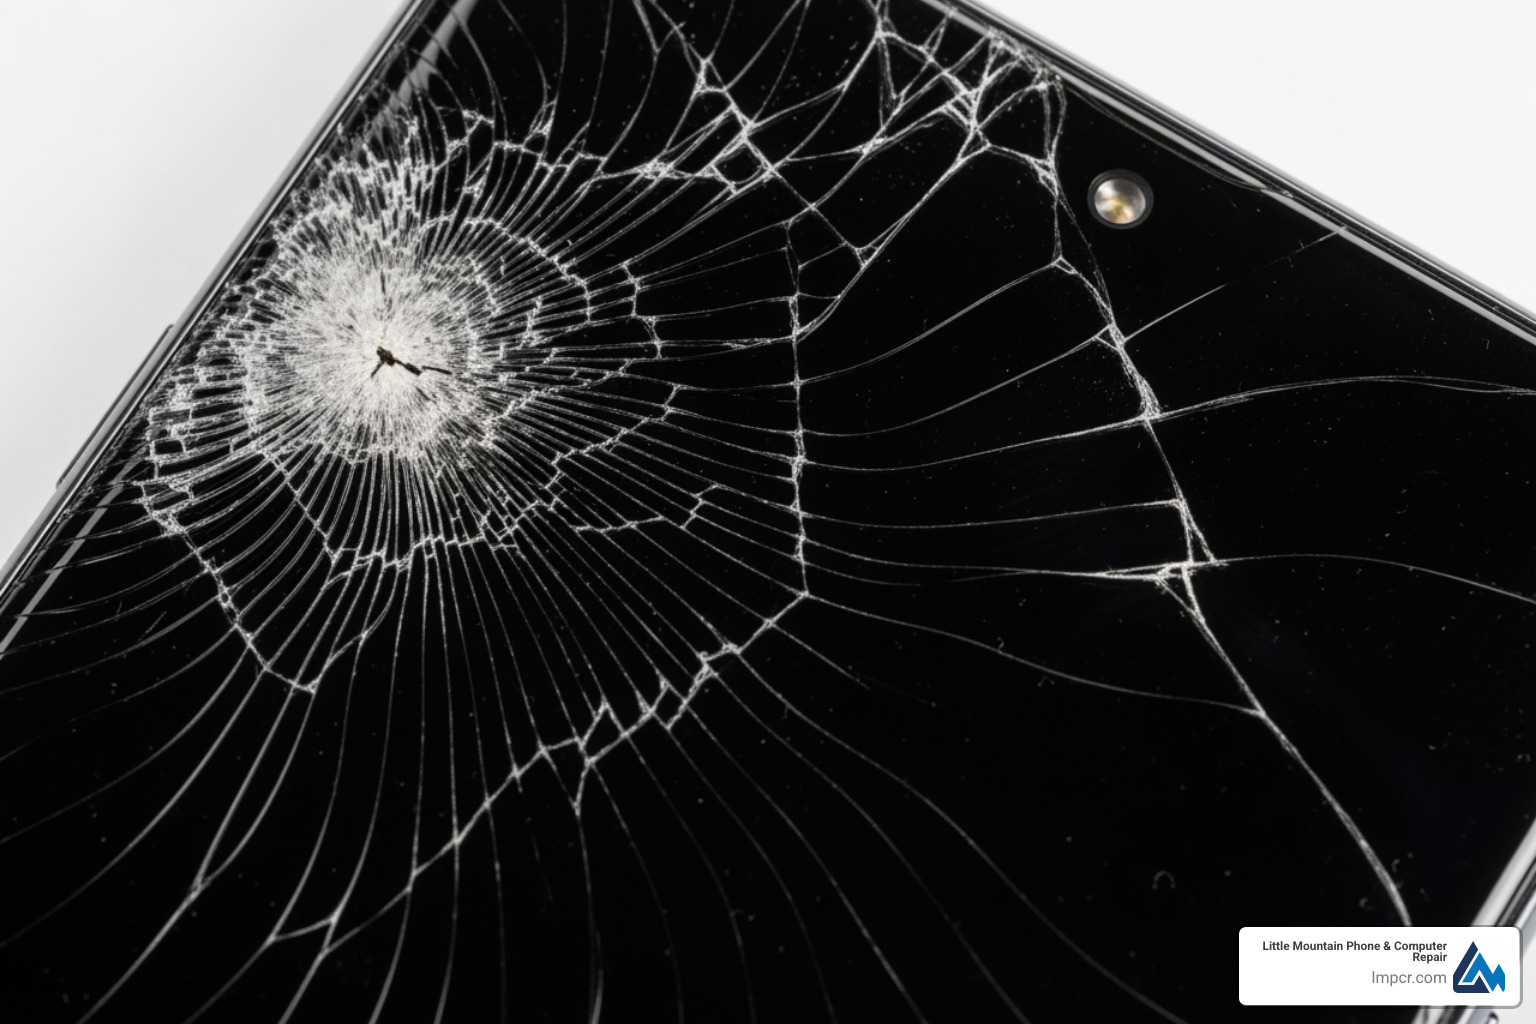
A13 screen replacement is a common repair for Galaxy A13 owners facing cracked glass, unresponsive touch, or display failure. Whether it’s a drop or spreading dead pixels, getting your device back in working order is a priority.
Quick Answer: A13 Screen Replacement Essentials
- Time Required: 1-2 hours (DIY), 30 minutes (Professional)
- Cost Range: $20-$40 for parts (DIY), higher for professional labor
- Difficulty: Moderate – involves 29+ steps
- Essential Tools: Phillips PH00, heat gun, spudger, tweezers, flat picks
- Key Challenge: Transferring internal components (camera, sensors, motor)
- Models: SM-A135F (4G), SM-A136U (5G), SM-A137
- Options: With frame (easier) or without frame (difficult)
The Samsung Galaxy A13 features a 6.6-inch display. Common signs for replacement include cracks, touch failure, black screens, or flickering. These issues can worsen and affect other functions if ignored.
This guide covers the replacement process, tool requirements, and when to seek professional help. I’m Jay Baruffa, President of Tech Dynamix and owner of Little Mountain Phone & Computer Repair. I’ve completed countless a13 screen replacements and trained technicians on the nuances of Samsung repairs.

Identifying Signs and Choosing Your A13 Screen Replacement Parts
Understanding the signs of damage and choosing the right part are your first steps toward a successful repair.
Common Signs for an A13 Screen Replacement
Accidental drops are the primary cause of damage. Beyond visible cracks, look for these symptoms:
- Shattered Glass: Compromises integrity and risks injury.
- Unresponsive or “Ghost Touch”: Indicates digitizer damage.
- Display Issues: Dead pixels, flickering, black screens, or vertical/horizontal lines.
A cracked screen allows dust and moisture to enter, potentially causing catastrophic internal failure. Addressing these issues promptly is vital.
Types of Replacement Screens and Model Compatibility
The Galaxy A13 uses a TFT LCD panel. You must choose between a screen “with frame” or “without frame.”

Screen with Frame vs. Screen without Frame
| Feature |
Screen with Frame (Assembly) |
Screen without Frame (LCD & Digitizer) |
| Difficulty |
Easier |
More difficult |
| Time |
Faster |
Slower, requires gluing |
| Components |
Screen, digitizer, and mid-frame |
Screen and digitizer only |
| Process |
Transfer components to new frame |
Remove old screen from original frame |
| Cost |
Higher |
Lower |
At Little Mountain Phone & Computer Repair, we recommend the “with frame” option for DIYers to avoid the difficult task of gluing the LCD to the frame.
Model Number and Compatibility
Screens are not interchangeable between variants. Check Settings > About Phone for your model:
- Samsung Galaxy A13 4G: SM-A135F, SM-A135M, SM-A135U
- Samsung Galaxy A13 5G: SM-A136U
For help identifying your model, see More info about smartphone services.
Using the right tools prevents damage and ensures a professional result. Here is what you need:
- Phillips PH00 Screwdriver: For tiny internal screws. Use a high-quality Phillips PH00 screwdriver.
- Heat Gun or Hairdryer: To soften adhesive on the back cover and battery.
- Plastic Spudgers: Non-conductive tools for Plastic prying tool needs.
- Flat Picks: For separating the back cover without scratching the housing.
- Tweezers: For handling small connectors and screws.
- Battery Prying Tool: To safely remove the glued-in battery.
- Suction Cup: To lift the screen or back cover.
- Anti-static Wrist Strap: Prevents ESD damage to delicate circuits.
- Adhesive Strips: To reseal the phone.
- Parcel Tape: To hold shattered glass together during removal.
Ensure you have a high-quality Samsung Galaxy A13 Screen ready.
Workspace Preparation
Set up a clean, well-lit area. Use a magnetic mat to organize screws. Losing a single screw can cause internal rattling or damage.
Step-by-Step Guide to a13 screen replacement
This 29-step process requires patience and careful handling of delicate parts. Power off the phone, work on a clean surface, and apply tape to cracked glass before starting so shards do not spread.
Before you open the phone, take a moment to protect your data and reduce risk:
- Back up your phone (Samsung Cloud/Google Drive) if it still turns on.
- Discharge the battery to around 25% or less before disassembly to reduce the severity of a potential battery incident.
- Label screws and parts as you go. The A13 uses multiple screw lengths, and mixing them can damage plastics or create pressure points.
- Use gentle heat. Excess heat can warp the back cover, weaken nearby components, or damage adhesive-backed parts.
- Power Off: Shut down the device completely.
- Remove SIM Tray: Use an ejector tool to remove the tray.
- Heat Back Cover: Apply heat to the edges for 30-60 seconds.
- Loosen Back Cover: Use a flat pick to slice through the adhesive. Be careful near the fingerprint sensor.
- Disconnect Fingerprint Sensor: Use a spudger to unplug the cable.
- Remove Upper Board Cover: Unscrew the Phillips screws and lift the plastic cover.
- Disconnect Battery: Unplug the battery connector immediately to cut power.
- Disconnect Flex Cable: Unplug the main interconnect cable.
- Remove Lower Cover: Unscrew and remove the speaker/daughterboard cover.
- Remove Front Camera: Disconnect and lift the camera module.
- Remove Antenna Cables: Pop off the coaxial connectors with tweezers.
- Remove Main Board: Carefully lift the motherboard out.
- Remove USB Board: Unscrew and remove the charging port board.
- Remove Vibration Motor: Gently pry it out (use heat if needed).
- Remove Battery: Apply heat to the back, then use a flat tool to pry it out slowly. Do not puncture it.
- Prepare New Display: If using a frame assembly, begin transferring parts.
- Insert Vibration Motor: Place it into the new frame.
- Insert USB Board: Secure the board and its screws.
- Insert Main Board: Seat the motherboard and fasten screws.
- Connect Antennas: Snap the cables back into place.
- Insert Front Camera: Reconnect the module.
- Attach Lower Cover: Screw the speaker cover back on.
- Insert Battery: Secure it with adhesive in the new frame.
- Connect Flex Cable: Reattach the main interconnect.
- Connect Fingerprint Sensor: Plug the sensor back into the board.
- Connect Battery: Plug the battery back in.
- Install Upper Cover: Screw the motherboard cover back on.
To finish the physical reassembly (and to avoid lifting corners later), complete these final closure steps after you confirm the screen works:
- Reconnect and Re-seat the Back Cover: Align the edges carefully and press around the perimeter to engage the adhesive.
- Insert the SIM Tray and Final Check: Reinsert the tray, then check that buttons, charging, speaker, and fingerprint sensor all respond normally.
For More info about tablet and phone repair, contact our experts.
Testing Your a13 screen replacement
Test the screen before final sealing so you can fix a loose connector without re-opening the phone again.
- Power On: Boot the device.
- Hidden Menu: Dial
*#0*# in the phone app.
- Tests: Check “Touch” (fill the grid), RGB colors, and brightness.
Also verify these real-world basics before you close everything up:
- Auto-rotate and proximity sensor behavior (screen should turn off near your face during calls).
- Front camera preview (confirms camera seating and connector contact).
- Fingerprint sensor (common to forget reconnecting after a back cover removal).
- Charging and data port stability (wiggle test the cable gently to confirm the USB board is secured).
If issues occur, check the flex cable connections. For More info about common repair questions, see our FAQ.
Risks of DIY a13 screen replacement
- Battery Puncture: Can cause fire or explosion.
- Cable Damage: Delicate flex cables tear easily.
- Warranty: DIY repairs void the Samsung manufacturer warranty.
- ESD: Static can fry the motherboard.
- Water Resistance: Opening the phone reduces its seal against moisture.
One additional risk to keep in mind is adhesive and fitment problems. If the back cover is not sealed evenly, pocket lint and moisture can enter more easily, and the phone may creak or flex under normal use. Taking time during the final reseal helps the repair last.
Learn more about the Latest trends in device repairs.
Professional vs. DIY: Cost and Risk Analysis
Deciding between DIY and professional repair involves weighing cost against risk.
DIY: The Budget Route
- Part Cost: Replacement screens range from $20-$40.
- Tools: A basic kit costs $20-$50.
- Time: Expect to spend 1-2 hours.
- Risk: High risk of damaging the battery or motherboard, which could cost more than a new phone.
Professional Repair: The Expert Route
- Cost: Typically $80-$150, including parts, labor, and warranty.
- Time: At Little Mountain Phone & Computer Repair, we average 30 minutes.
- Expertise: We use professional-grade tools and ensure all sensors are calibrated correctly.
- Warranty: Our repairs are backed by a guarantee, providing peace of mind.
For many, the speed and reduced risk of a professional service are worth the investment. See More info about our repair services.
Frequently Asked Questions about A13 Repairs
How long does a typical Samsung Galaxy A13 screen replacement take?
DIY repairs usually take 1-2 hours. Professional repairs at Little Mountain Phone & Computer Repair take an average of 30 minutes.
Will replacing the screen myself void my Samsung warranty?
Yes. Any unauthorized repair voids the manufacturer’s warranty. Independent shops provide their own warranties on the specific repair performed.
What is the difference between the A13 4G and A13 5G screen replacement?
The models have different internal layouts and connectors. Screens are not interchangeable. Always verify your model number (e.g., SM-A135 vs. SM-A136) before ordering parts.
Conclusion
An a13 screen replacement is a manageable repair that restores your phone’s functionality. While DIY saves money, it requires precision, the right tools, and careful handling of the battery and flex cables. If your screen is cracked but still working, replacing it sooner can help prevent dust or moisture from entering and turning a simple screen job into a more expensive internal repair.
If you would rather avoid the risk, Little Mountain Phone & Computer Repair is a stress-free alternative. With 20+ years of experience and an average 30-minute turnaround for many common repairs, our team can diagnose touch issues, confirm part compatibility (A13 4G vs 5G), and get your phone back to normal quickly.
We proudly serve Painesville, Concord Township, Perry, Madison, Leroy Township, Fairport Harbor, Grand River, Mentor, Mentor-on-the-Lake, Kirtland, Kirtland Hills, Chardon, Aquilla, Eastlake, Willowick, Wickliffe, Willoughby, Willoughby Hills, Geneva, and the greater Lake County, Ohio area.
Contact Us for Professional Repair